Going To Pieces In A Pandemic
Steven L. Van Dyke
It's been an interesting journey going from Software Engineer to puzzle maker over the last decade. My path may seem meandering but I think many people can relate.
As I said, I used to be a Software Engineer but after over 30 years I got caught by the layoffs back in 2010. With the current college graduates locked out of jobs I knew that someone over 40 had little chance. My biggest problem was that I had been at one place long enough that everyone who could get me past HR was either in the room I had just left, or in the room I was currently in. So, after a few months of doing the things we had scheduled and looking for possible sources of income I wound up selling guns at our local Cabela's. As it turned out, I was quite good at it. Having a couple of co-workers who had also been programmers I was able to figure out why. When you come to the gun counter you pretty much want a gun. Which one is a logic problem and we are really good at those. Plus, you've spent your whole life with people selling you things based on emotions and have built up resistance to it. But programmers sell you based on logic and almost no one has any resistance to that.
But time rolled on, as it does. Jim Cabela passed on and leadership fell to another member of management. We always said that Cabela's management were the best you could get... to work in Sydney, NE. And all their relatives. I assume control passed to a relative because the first thing they did was get rid of pretty much all the full-time folks. The stock shot from 80 to 60, dropped down into the 40's (and below). Bass Pro Shop buying the company was their salvation.
In any case, I was once again cast out from the economy. A few months later I saw that Uber was starting to take off so I gave it a try. Uber makes a lot of their money from stupid drivers. Not being one of them I made pretty good money from Uber. Boring, but I got a lot of reading done. Still, after almost five years and over 13,000 trips I was ready for something else.
In February of 2020 I was seeing information about the Wuhan virus. I don't do a lot of social media but the folks I follow are a pretty smart bunch. After a long discussion my wife and I decided that spending extended time in a closed car with travelers was a bad idea and I stopped doing Uber on March 1st. Two weeks later, pretty much everyone else joined me.
So what to do now? Well, in August of 2019 we went down to Branson, MO and I did something I'd been wanting to do for years: I learned how to properly use a scroll saw from a Mr. Gaylen Montgomery, better known as “Mr. M”. One of the things I learned from him was that there's a wonderful site ScrollSawWorkshop.blogspot.com where Mr. Steve Good has been posting a pattern and helpful advice pretty much every day since 2007. In December of 2019 I tried a pattern he had posted for making an oval bowl.
Making bowls with a scroll saw is like a magic trick. By cutting concentric rings with a certain spacing and angle of cut you can then lift the rings out and re stack them into a bowl. It's similar to the way a collapsible bowl works but what with the glue and all it's a one-time trick. The only thing I didn't like was that, as with pretty much all of the bowl patterns out there it required a lot of sanding. I don't really have a wood shop, I have a space in the garage in front of my car. So I'm really not into sanding. But I love the very concept of scroll saw bowls.
So I did what any clever person would do: I studied the situation to figure out just how to design a bowl. First I worked out how to see what wall thickness was best for any particular angle on the saw and my test showed that sanding was greatly reduced. Doing more poking around I found a trick for setting the angle on the saw to match your wall thickness. That gentleman was doing it crudely and still had to do a lot of sanding. I spent a few days pondering and worked out the theoretically perfect set up. So I wrote a book on the subject, showing how to minimize your sanding and also how to design even complex bowls with just a compass, straight edge, and sometimes a scrap of paper. I'm currently working on getting it published but it's going through a traditional publisher so it's a long slog. Hopefully it will be out in fall of 2021. My book on problem solving that I self-published in 2019 was a much quicker affair (“Problem Simplification: Breaking It Down & Working It Out”, available from both Amazon and Audible).
While I was working on the book, Mr. Steve Good included a video from a gentleman who makes hand -cut wooden jigsaw puzzles. Mr. Mark Cappittela has been making puzzles for over 25 years now and has a great YouTube channel (“Mark's Custom Made Hand-Cut Wooden Jigsaw Puzzles”) where he has a number of videos. Included in those are ones where he teaches anyone who's interested the basics of puzzle cutting. His website is MGCPuzzles.com for more info and links to his videos and shop.
So I started practicing on puzzle cutting. Most of the time with a scroll saw you're using a pretty fine blade. The standard #5 blade is 0.38” thick with 12.5 teeth / inch (tpi). This is great for most things but makes far too loose a puzzle. Puzzle cutting blades are 0.008” thick, 31tpi – about twice as thick as a human hair. But a #5 blade is fine for initial practice, just trying to get the hang of the style of cut. Once I was ready to move on to puzzle blades it was a whole new can of worms. People watching Mark's videos are always writing him worrying he'll cut himself because your fingers get so close to the blade. Not a problem. First off, most of the time you're touching the back or side of the blade. Even when you brush the front it's ok. While puzzle blades go through the wood like a hot knife through butter they don't really cut flesh that easily. Puzzle blades prefer to hurt you emotionally. They are wild and temperamental beasts. Mark refers to working with them as 'dancing'. I'm not that much of a dancer so I have to rely on persuasion. Still, after a few months I'm starting to get fairly good and now have my own shop on Etsy. I slapped a domain over it to make reference easier – Scroll-Right.com will take you right there. Actually you already know that since that's where this article lives.
And just how do you make a hand-cut wooden jigsaw puzzle? It's not hard, it's just something most people find far too tedious to do. But remember, I was a Software Engineer for over 30 years. A few projects with over 70,000 lines of assembler and your definition of 'tedious' is different from most folks.
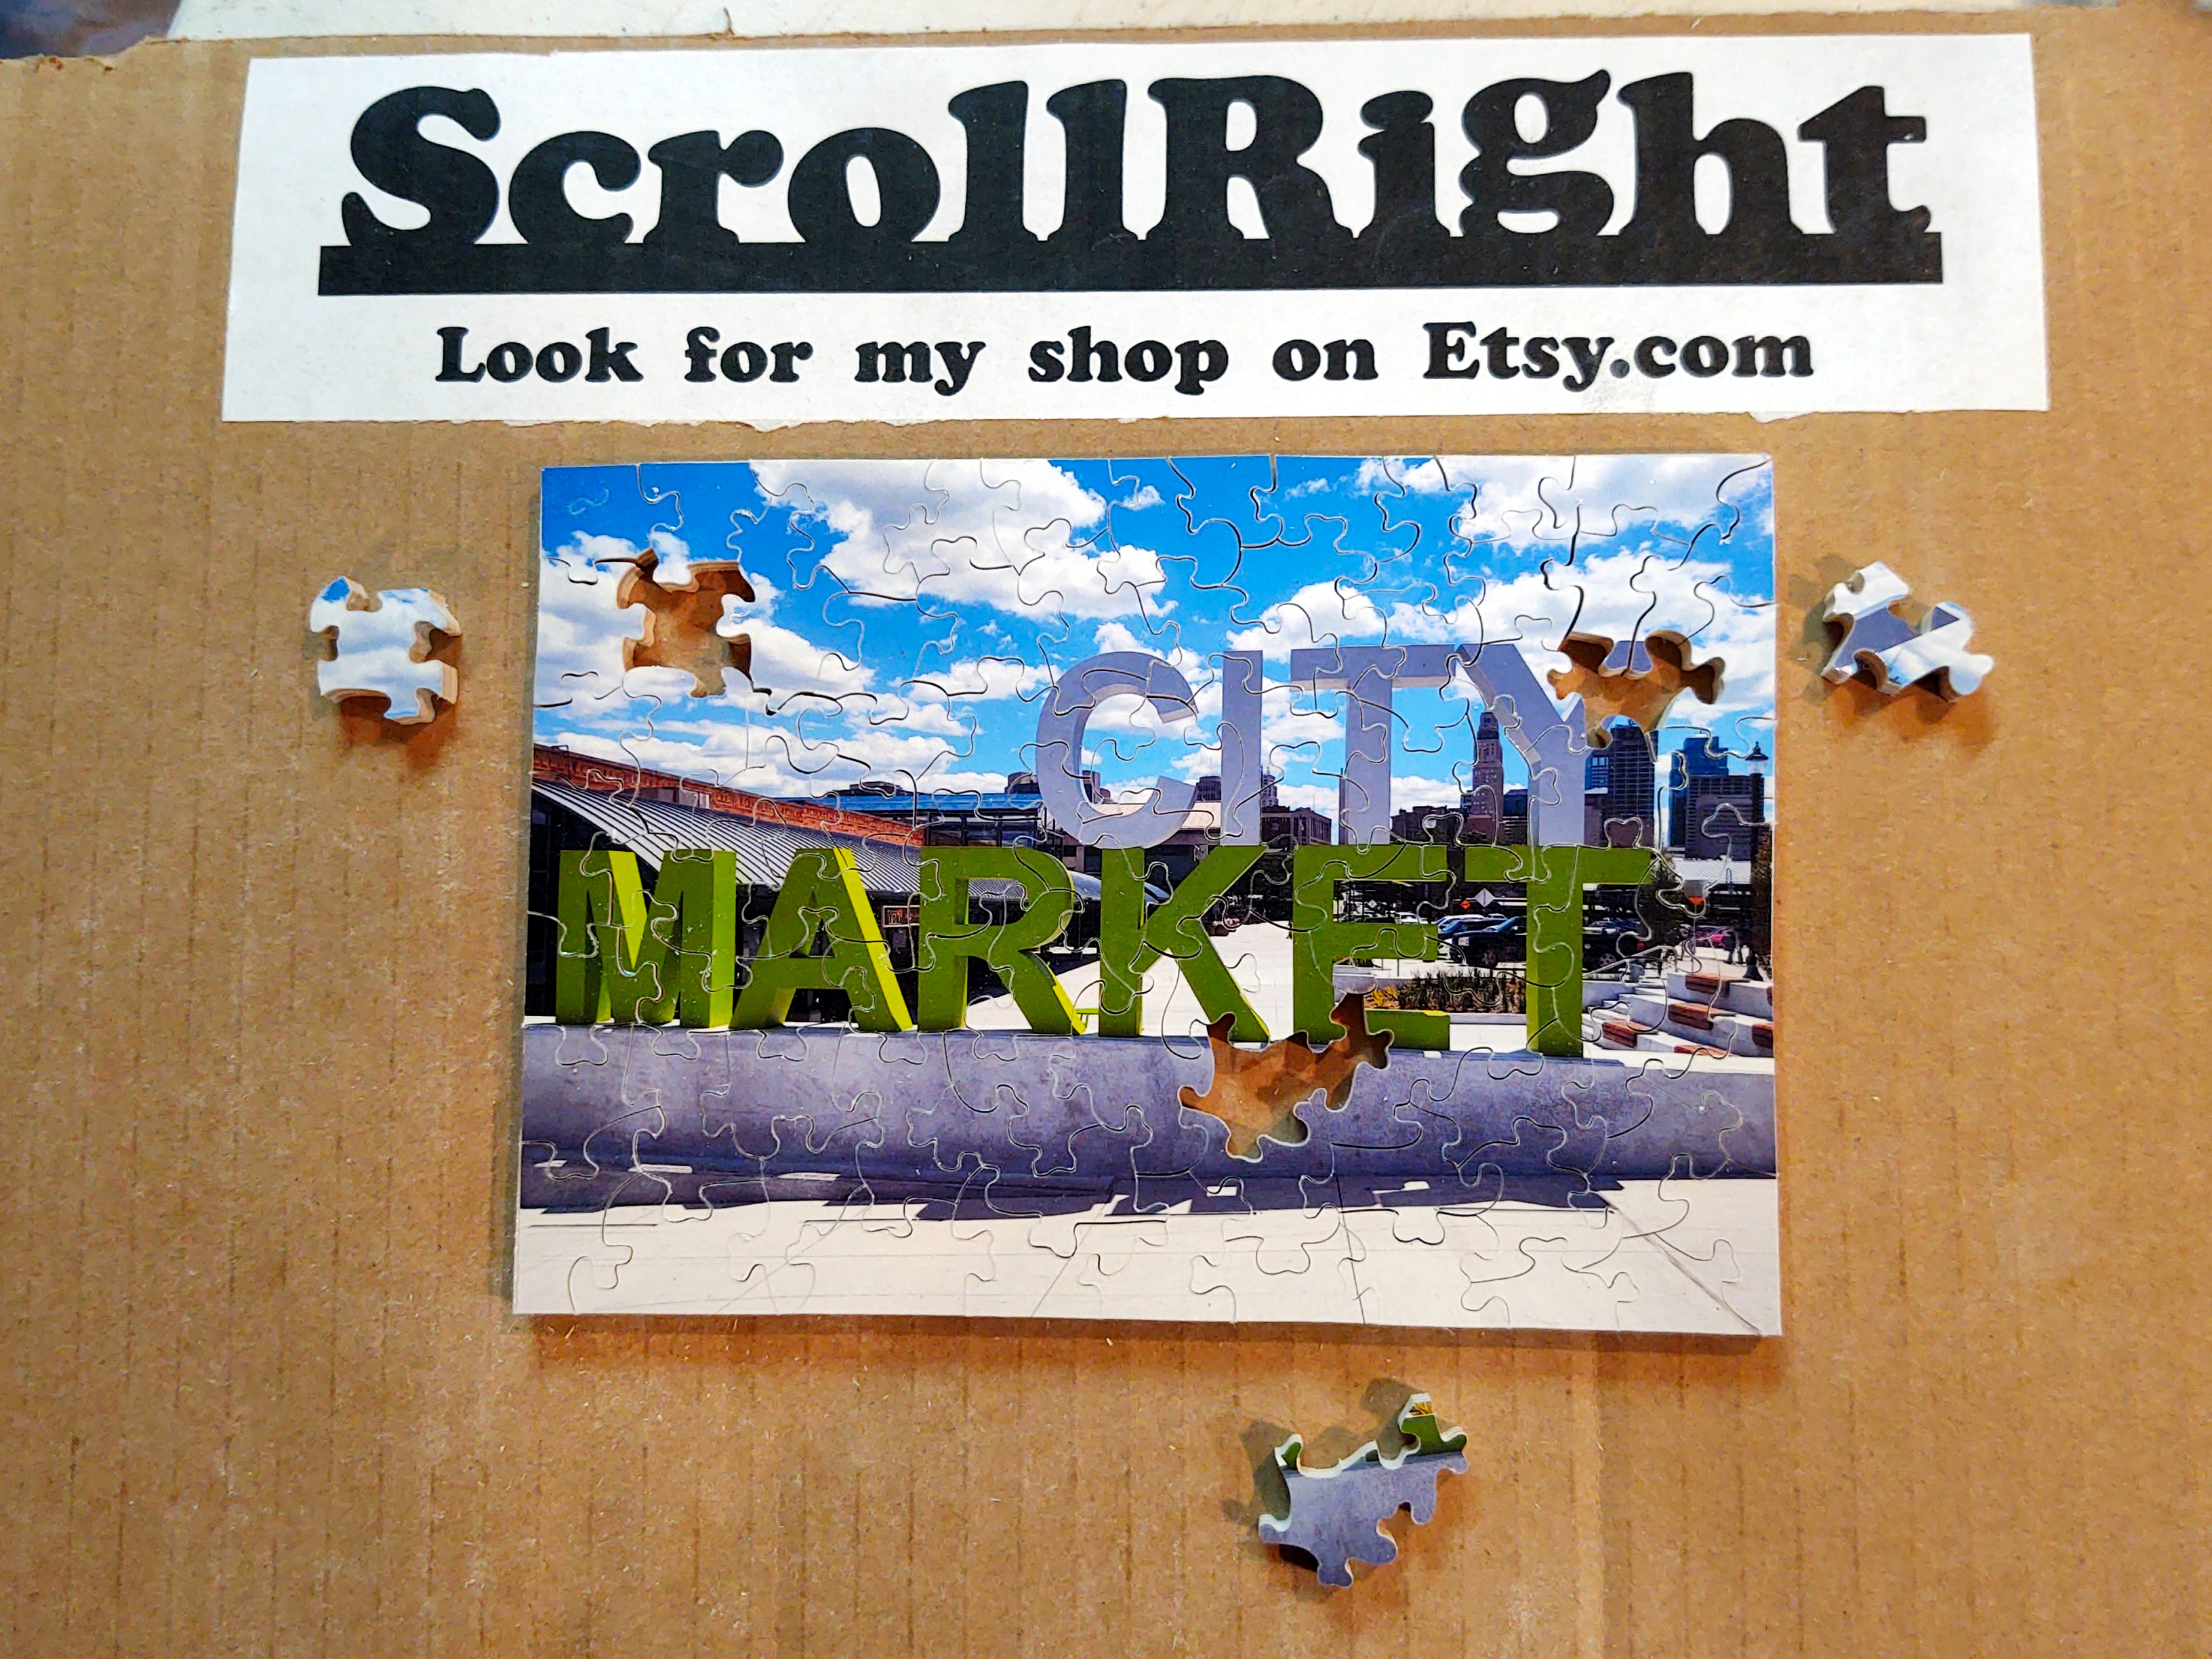
For the puzzle it all starts with the image. People pick the picture they like when they're looking for a puzzle. Having been a semi-pro photographer for decades I have plenty of pictures to work with and a whole world full of new ones I can add. (Yes, I do a lot of things. I'm betting you do as well.)
I take an image, do any needed clean up and adjustment and print it out as an archival print. Hand-cut puzzles aren't cheap so they're meant to last for generations. Next I mount it on 1/4” plywood with a protective laminate over it. Some of the modern puzzle makers use 1/8” or 1/16” wood. Those are the people who cut their puzzles with a laser. That is a whole different world. If you get a laser-cut puzzle the first thing you do when you finish it is turn it over. The laser, in burning through the wood, leaves clean black edges around the pieces making the shapes very clear on the back. Because of this the laser cutters spend all of their time laying out complicated and beautiful scenes on the back of the puzzle. The image on the front is just setting the theme. They'll do a ton of 'figurals' or 'whimsies' – specially shaped pieces scattered into a puzzle. I've seen one on golf that has whole scenes about golf on the back. Larger figurals are usually divided into multiple pieces. Of course, since the laser burns through the wood they often smell of burned wood.
But with a hand-cut puzzle like I do it's much less about the figurals. Now some people do work with templates and rigorous pre-planning. I ran across one cutter who does the fiendish style where every piece is as close to identical as he can make them. Me, I'm a free-form cutter. Each and every piece is unique. The only things I plan out are my figurals - those I do sketch out in advance. Once I have them worked out I use some special very-low tack tape to let me put the sketch on the face of the puzzle. When cutting they get cut when I get to them.
But as I said, the first step is to get the image mounted on the wood. Currently I use a t-shirt press to get the job done. I make my puzzles in several sizes. Coming from a photographic background I stick with standard print sizes – 5x7, 8x10, 11x14, 12x18, and 13x19 (biggest I can cut with my saw without resorting to special tricks). No particular need to do so, just what I prefer. When I mount the image I cut the wood just a bit bigger. It's vital that there be wood behind every square millimeter of the image and if I let an edge hang over there's no starting over. There might be a little adjustment of where the edge is to work with how things came out, but there's no starting over.
After it's all mounted and ready I first trim the wood down to the image. I use a good old controllable #5 blade for that. Normally the edges are as straight as I can make them. It turns out that a straight line is actually one of the harder things to cut with a scroll saw. Sometimes though I make the edges wavy to make the puzzle harder to do. Sometimes I'll do a 'drop-out' version where I cut away the background, leaving just the subject floating in the void. These can be more fun for the person solving the puzzle (because there's little or no straight edge) and that massive color-line type cut I have to do makes it 'fun' for me as well.
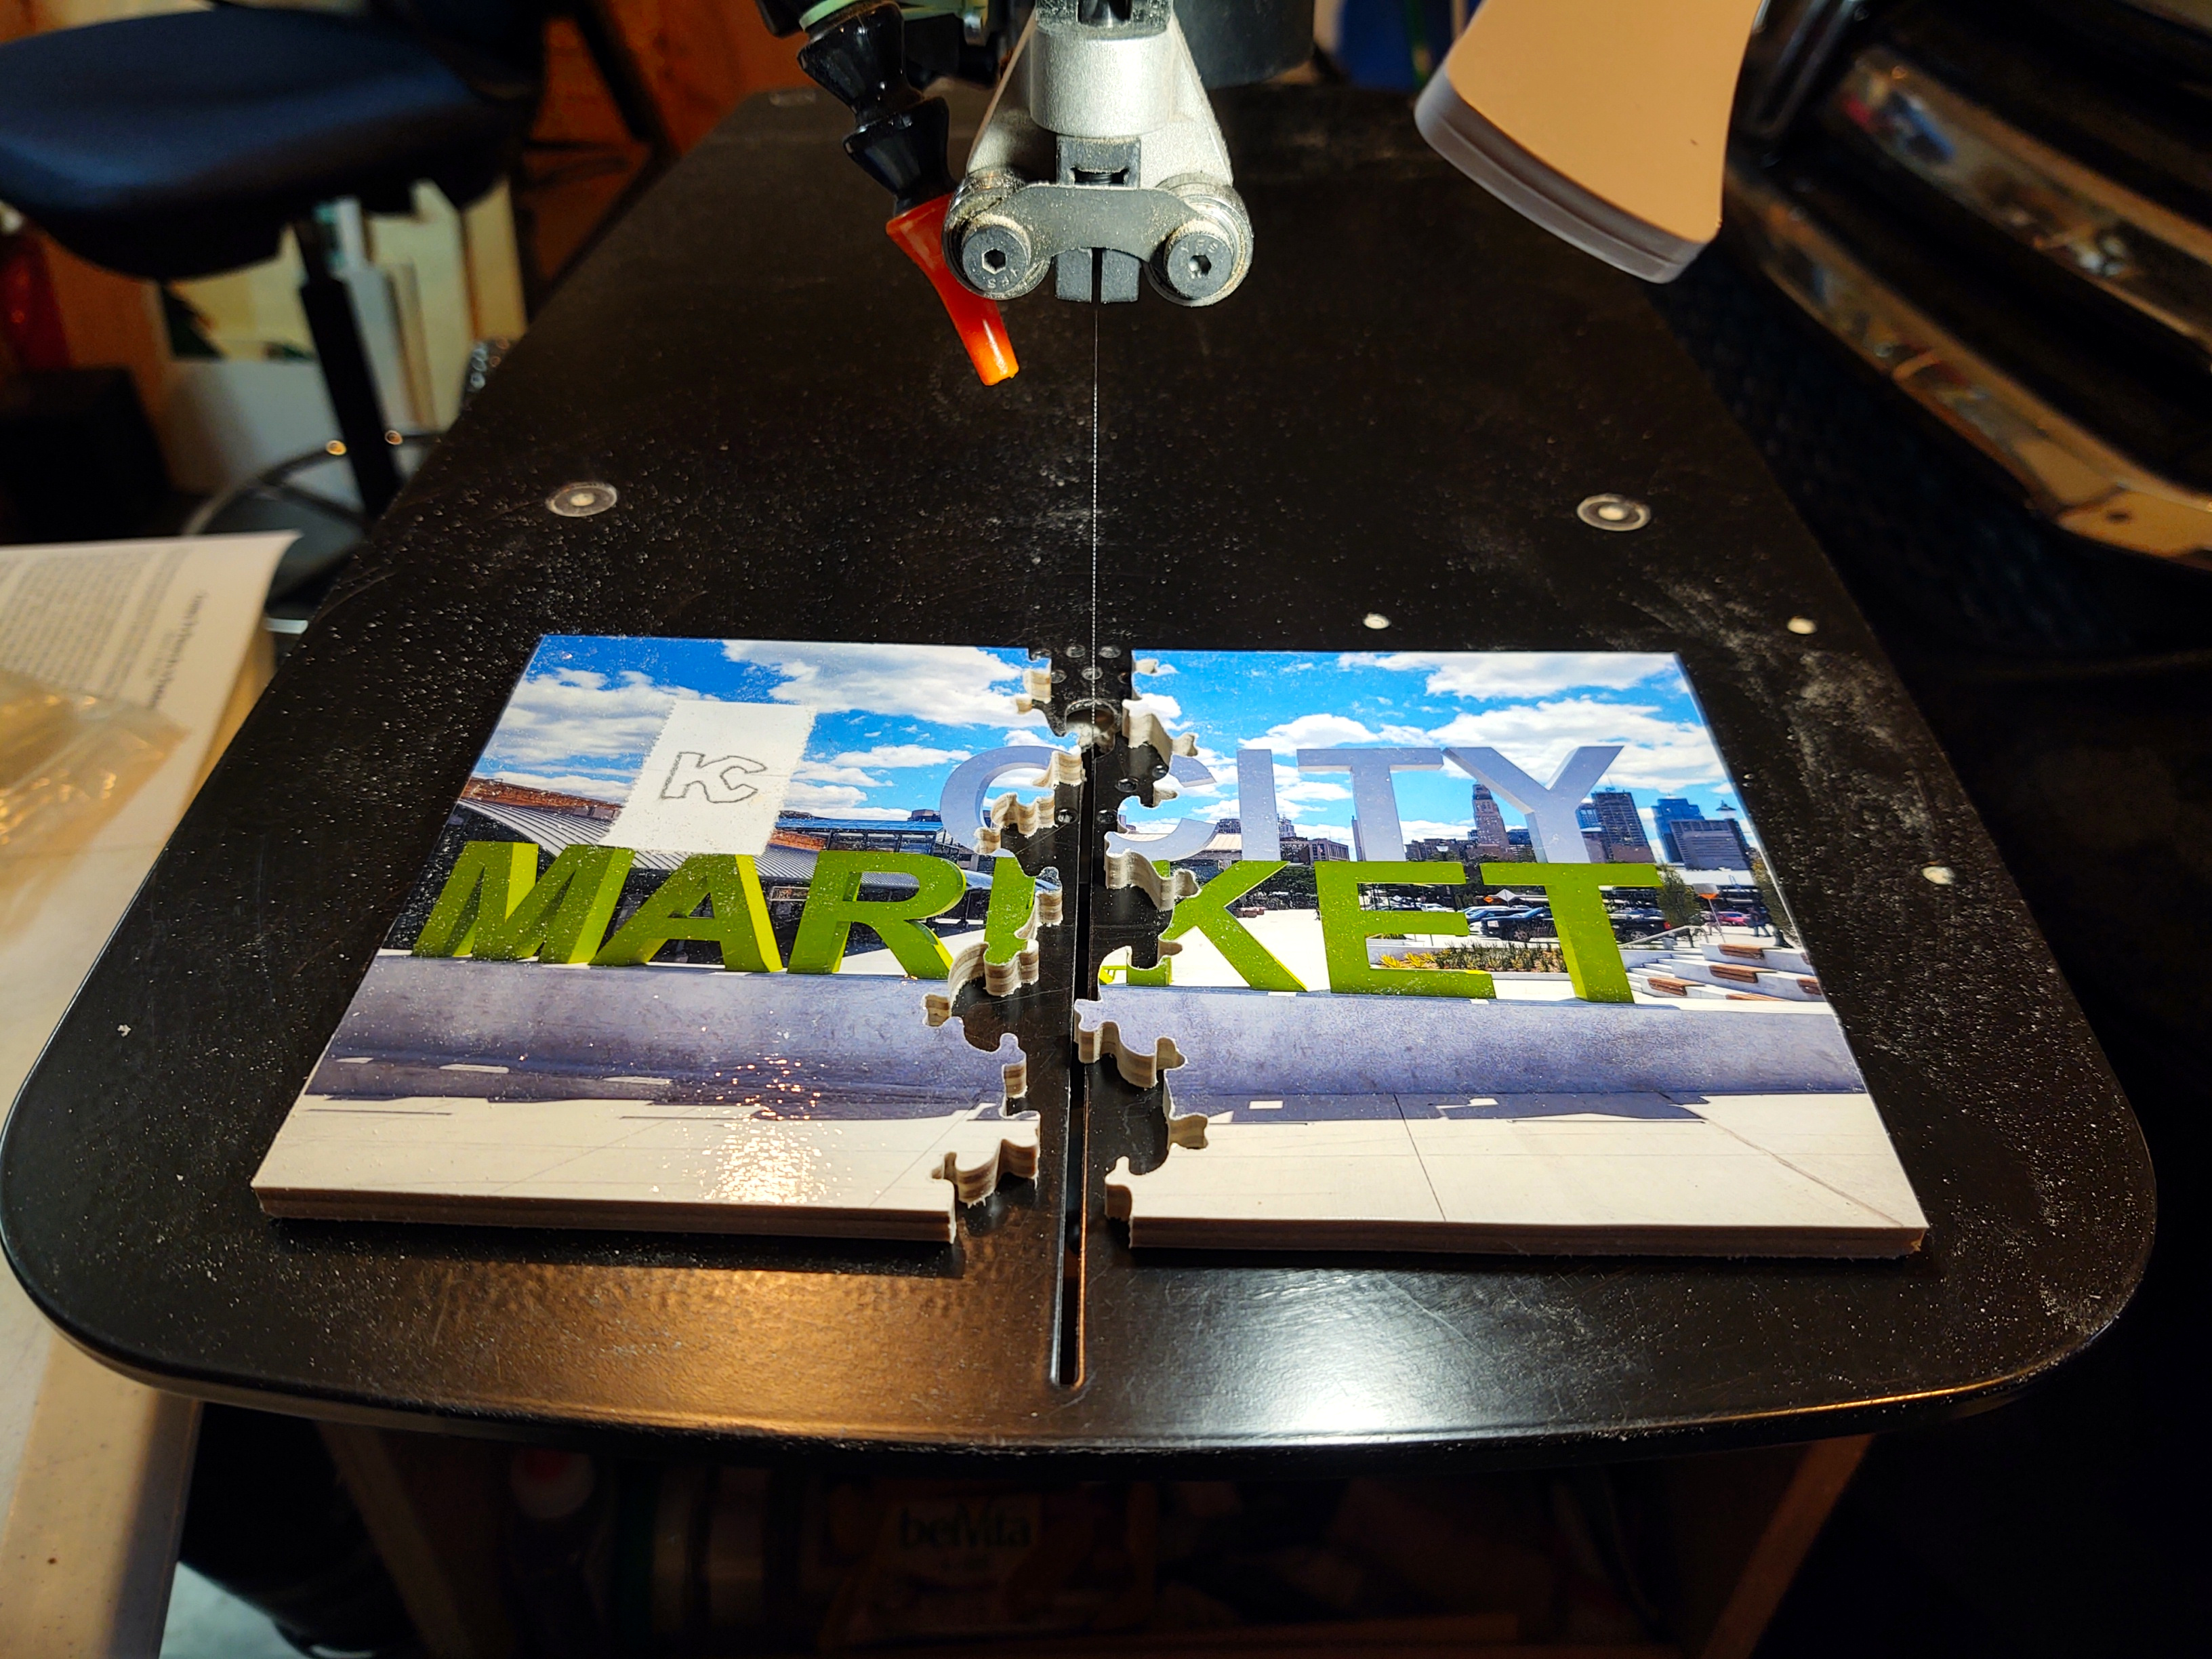
Once it's mounted and trimmed it's now a one-piece puzzle. Those are boring so I start the process of dividing it into more pieces. You start with dividing it into sections. Generally the first cut is dividing it in half along the long edge. You start at the top, cut in just a bit and cut the first interlock. Instead of the common 'knob' type interlock I'm a fan of the 'eared' interlock, also called a 'heart' or a 'butterfly'. The experienced cutters like Mark make perfect interlocks look easy. They aren't, as mine often show. There are two reasons I like the eared interlocks. Well, three – people like the way they look. But for me it's that I think they make a tighter lock and, if you want a trickier puzzle you can split an eared interlock. That's part of what I call that my 'tricky' style. In that style there are also very few straight lines. In the 'regular' style the pieces are mostly rectangular. I also do a 'tiny pieces' style where I make the pieces about 30% smaller. They tend to be even more regular than the regular style but there are so many of them. I have a standard picture I add to my shop listings showing examples of the piece styles.
In any case, you subdivide the puzzle until you're down to pieces about the size of your hand. These are a lot easier to maneuver plus you end up handling the parts of the puzzle less. The amount of handling a puzzle gets while you cut it is like years of it being played. Once I'm down to manageable sections I start cutting pieces. I keep the complete puzzle off to my left. I lift out a section and as I cut it I put each piece back. This helps me not lose any, among other things. Once the piece cutting starts it 'just' a matter of cutting another piece until there are no more left to cut. My planning for a piece is mostly “I'll come in here and go out there.” Of course there are a few things you have to watch for. You want to try to keep your pieces around the same size. Your line can never cross itself – it can't even touch. Other than figurals you have to make sure that all of the pieces have enough interlocks. OK, sometimes for a tricky puzzle there are pieces that don't lock to one or more of the pieces next to them but they still lock into the puzzle as a whole.
Figurals may or may not have interlocks. They can be tricky because you have to design them to be simple outlines – no interior cuts. Although you can do something a little like that – you can have cuts into a piece to add some detail. I have a little bee that I do where on the rear part I make small curving cuts in to suggest the bands of a honeybee.
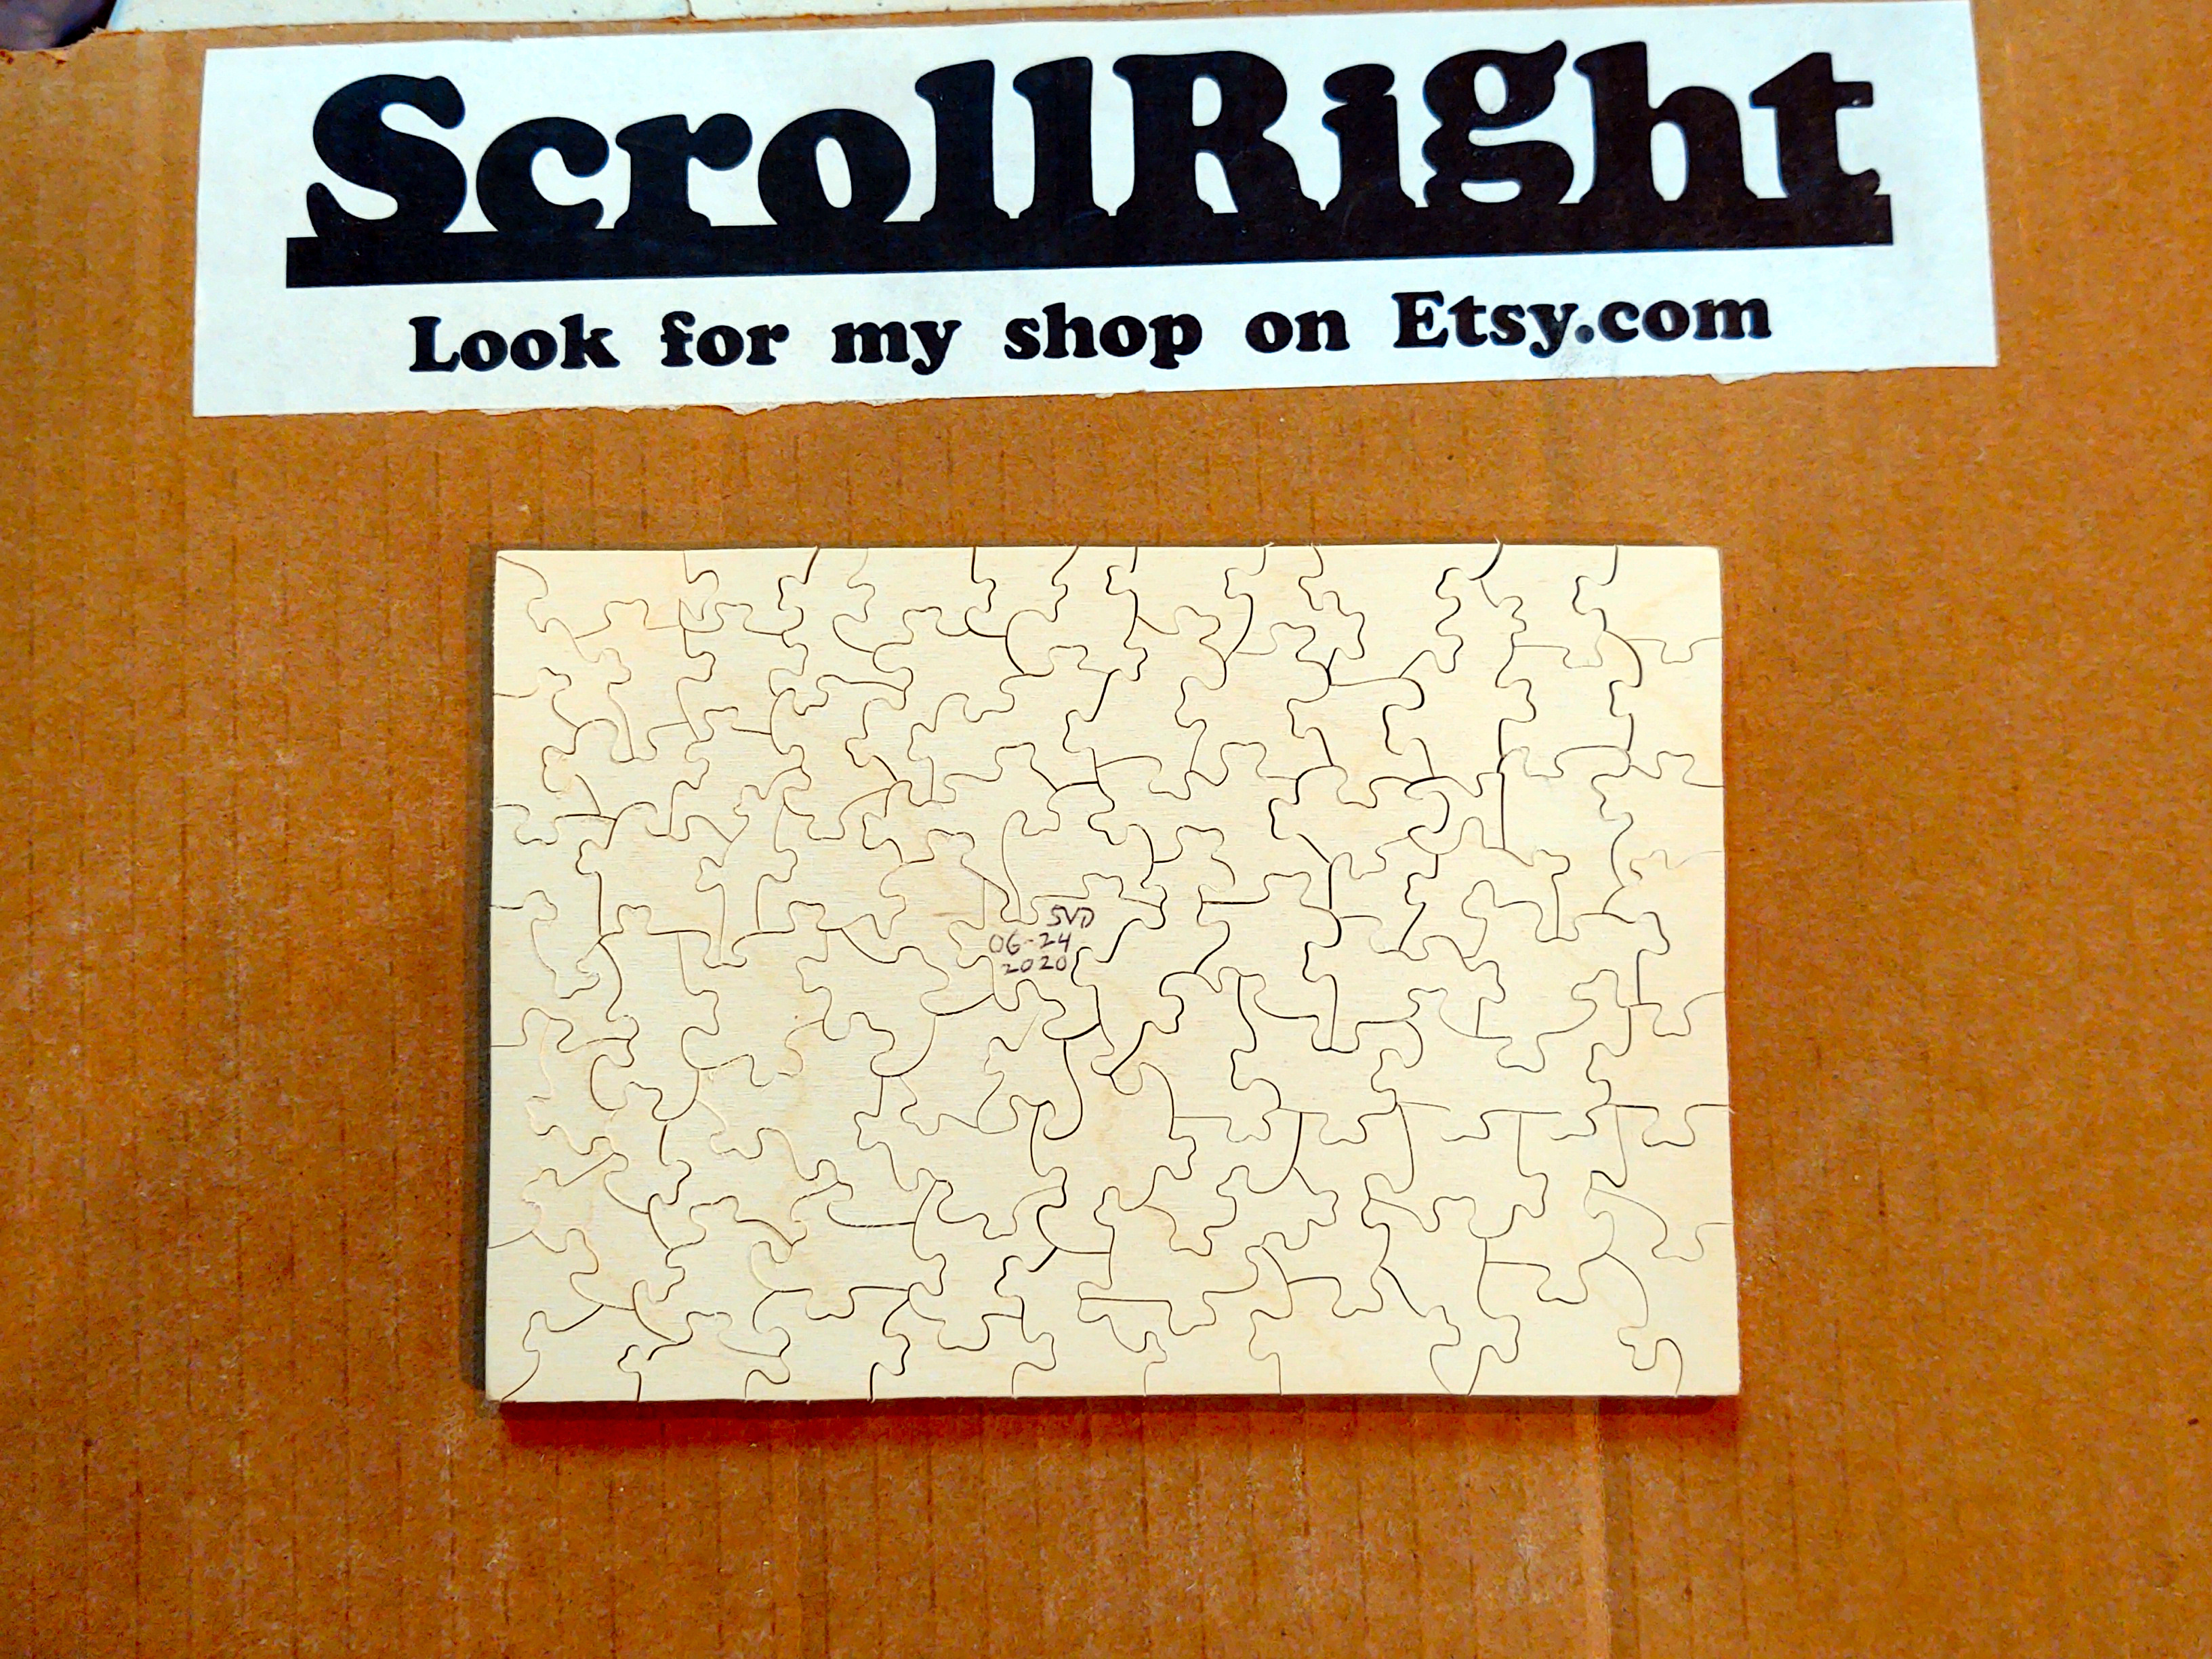
Once all of the pieces are cut you have to finish the back. A scroll saw leaves a slightly rough edge along the bottom of the cut. There are blades that reduce that, but the fuzzies are just a fact of life and easily dealt with via a quick, light sanding. For puzzles if you fail to do that the puzzle is much harder to assemble until you've done it enough to wear the fuzzies off. So I flip it over and hit it with medium and then fine sanding for a lovely smooth surface. Then I pick a piece and put my maker's mark and the date I completed the puzzle on the back.
Once the puzzle is complete I use a brush to get as much as the sawdust off as I can. I have yet to find a way to get it all but I figure that the remaining sawdust is how you know your new puzzle is still fresh. After that it's the counting and packaging. I set up the box it will go in and get some baggies. As I take the puzzle apart I count the pieces into the box. Periodically I re-count them as I transfer them to a bag. It's much easier to re-count 50 or 100 pieces than 287. Each puzzle comes with a sticky label for the top of the box that has the picture and a little note about the image with the title I've given it. There's a label on the end of the box for the title, the number of pieces, how many of them are figurals (if there are any) and the date I competed the puzzle. Normally I wrap the story and label inside a note and don't write the title on the end label. My theory is that some people find it even more fun to do a puzzle the first time without knowing anything about how it should look. As I say in the note, you can open the packet and complete the box at any time. When you order I puzzle I ask if you want me to put the label and title on or preserve the mystery.
After it's all done I add it to my shop inventory and wait for a buyer. Of course, if you look in my shop and see a puzzle you like but it's not the size or style you want, I have a special item where you select the size and style you want and tell me which image so I can make it for you. And I also make custom puzzles from your image(s).
So as you can see, my journey from Software Engineer to puzzle cutter is really a straightforward path, at least in today's world.