
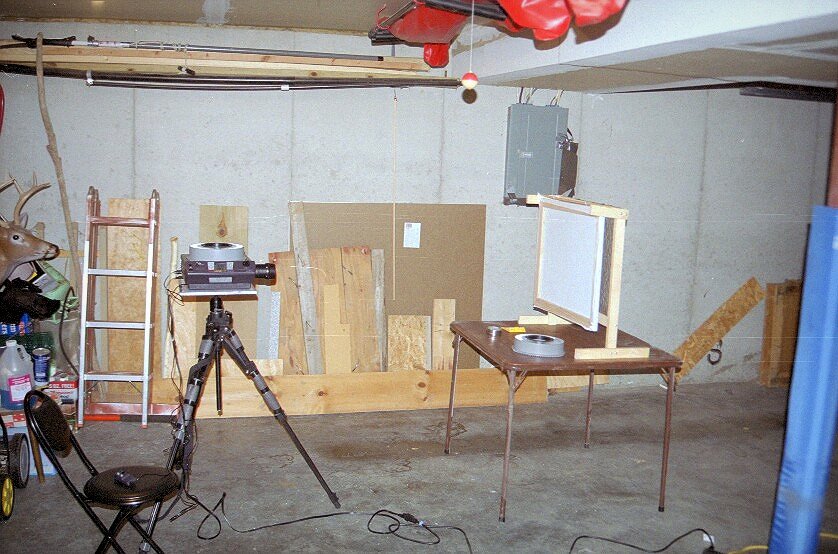
Here are some shots showing how you set up to use the widget. As you'll see, it's a glamorous affair that involves moving my car out of the garage and turning it into an extra-long studio.
This first shot gives you a bit of an idea of how it
looks when you're actually using it. There's no image up but you can see how the screen looks:

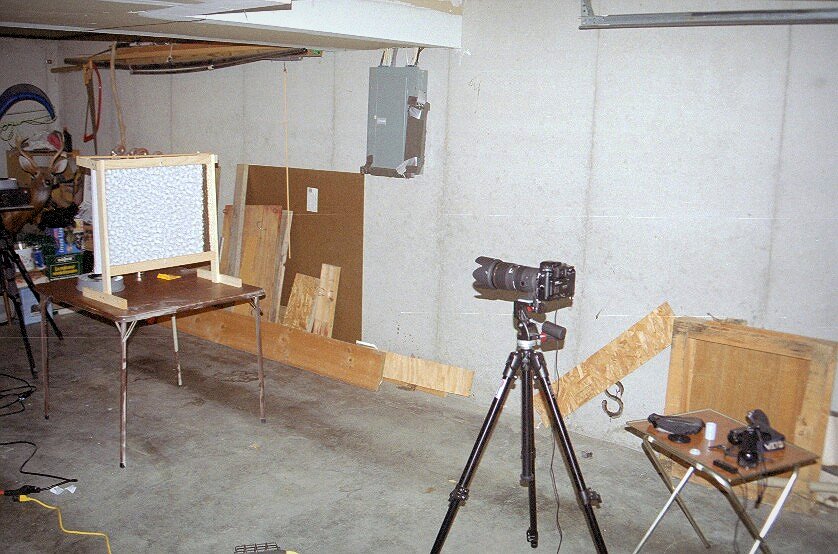
This image shows the 'projection' side of the setup with the slide projector pointed at the screen.
This image shows the 'camera' side of the setup with the camera focused on the glass.
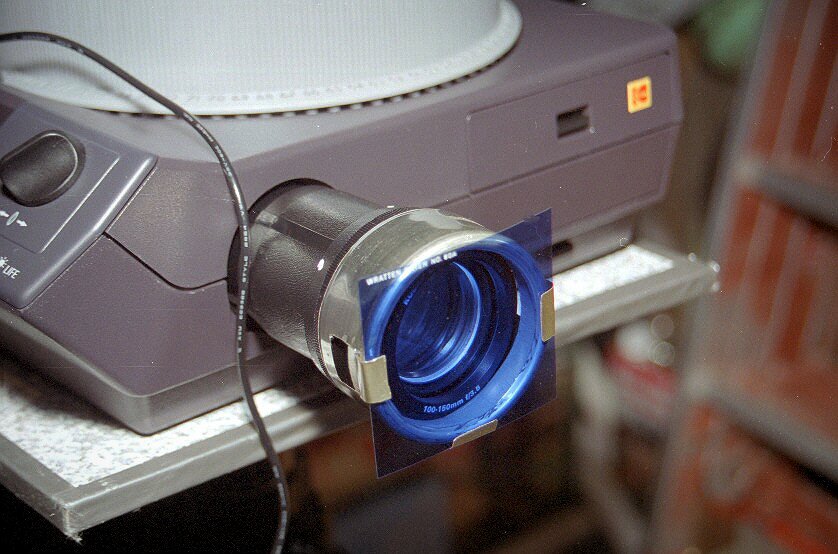
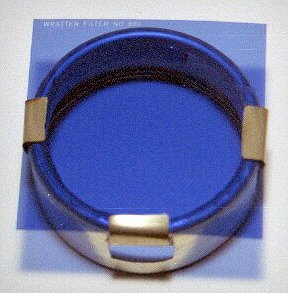
A slide projector's bulb has a color temperature of about 3200K. Daylight film is balance for about 5500K. To keep
everything from going red you need an 80A filter somewhere in the line. I prefer putting mine on the projector with a
filter holder I made. Here's a shot of the filter in place:
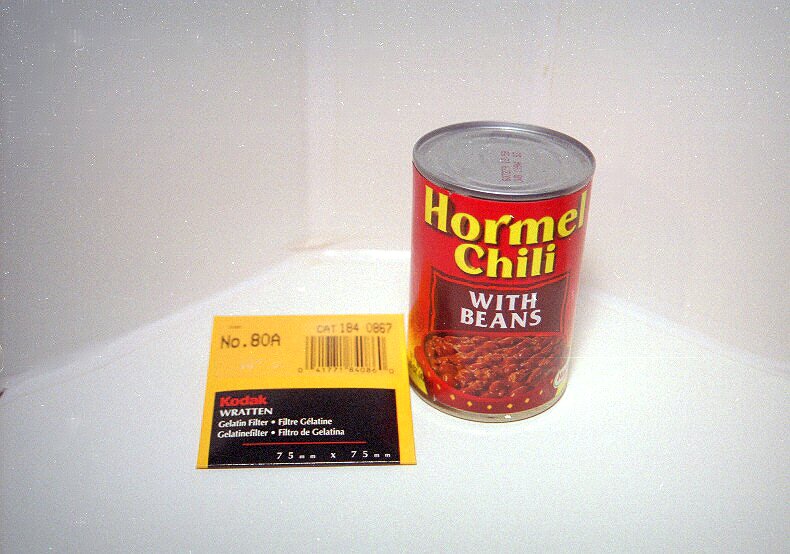
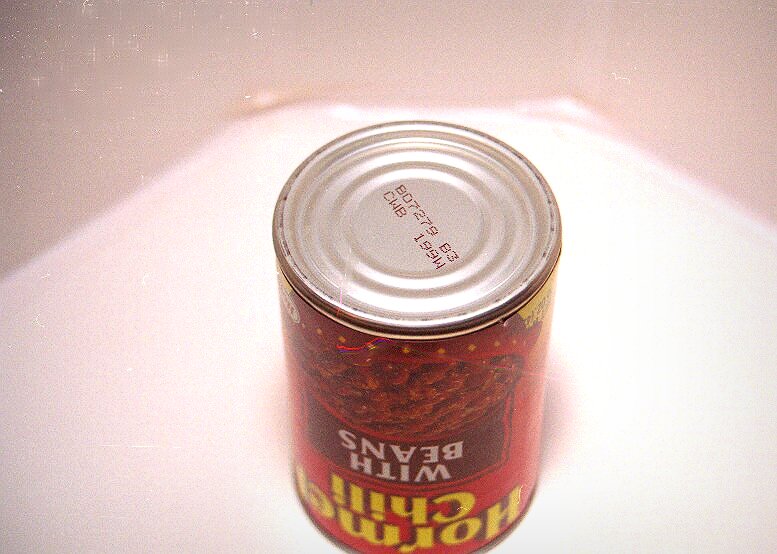
The filter holder started out with a can that was just a little bit bigger than my projector lens. Here are the basic
ingredients:
Notice that the bottom of the can is rounded - I think that made the filter holder come out better.
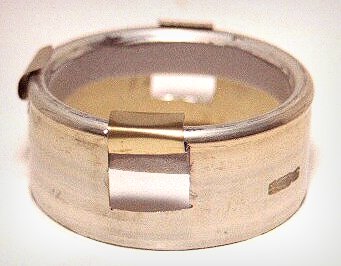
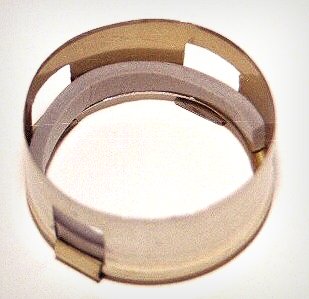
Basically, I cut the end of the can out with my Dremel tool, cut in three 'flaps' I could fold up and over to hold the
filter, and cut it to length. I also added a bit of foam on the inside to make it snug down on the (tapered) end of the
projector lens. Here's a detail look:

That's pretty much it. In operation you put the slide in backwards - it's a rear projection setup so it will be left-right reversed when you look at it from the front. Set the camera for about a +2 exposure (I drop this for images with really bright highlights). Darken the room and get to going. The further the screen is from the glass the more distorted the image will be. The smaller the image is (with respect to the distortions in the glass) the more distorted it will be. Different kinds of glass give different effects. Actually, most of the time your 'glass' will really be plastic. You can start with a clear sheet of plexiglass and use transparent / translucent paints to make your own effects. I've found a paint for doing fake stained glass at the crafts store that includes a 'clear' color - usefull for making your own distortions. If the image is too contrasty you can reduce the contrast either by using a filter (black ladie's stockings work) or by defocusing the projector just a touch. Having a projectionist is very helpful.
Important note: you really need to look through your viewfinder to see the image - how it looks can change based on the viewing angle and it's what the camera sees that matters most.
You can start from a print by simply shooting a slide copy. You can crop the image at any point in the process - original print, slide copy, shoot just a portion of the distorted image, and/or crop the final output.
Don't forget - focus on the glass - I use a couple of strips of black tape to make an 'X' in the center of the glass to focus on (just touch it lightly to the glass) and a flashlight to get enough light for the camera to focus. After that I leave focus alone (I work in manual focus mode, of course).
Most important: experiment and enjoy!
Back to my 'How & Why' Page
Back to my Home Page